 How to start
 Create a cluster
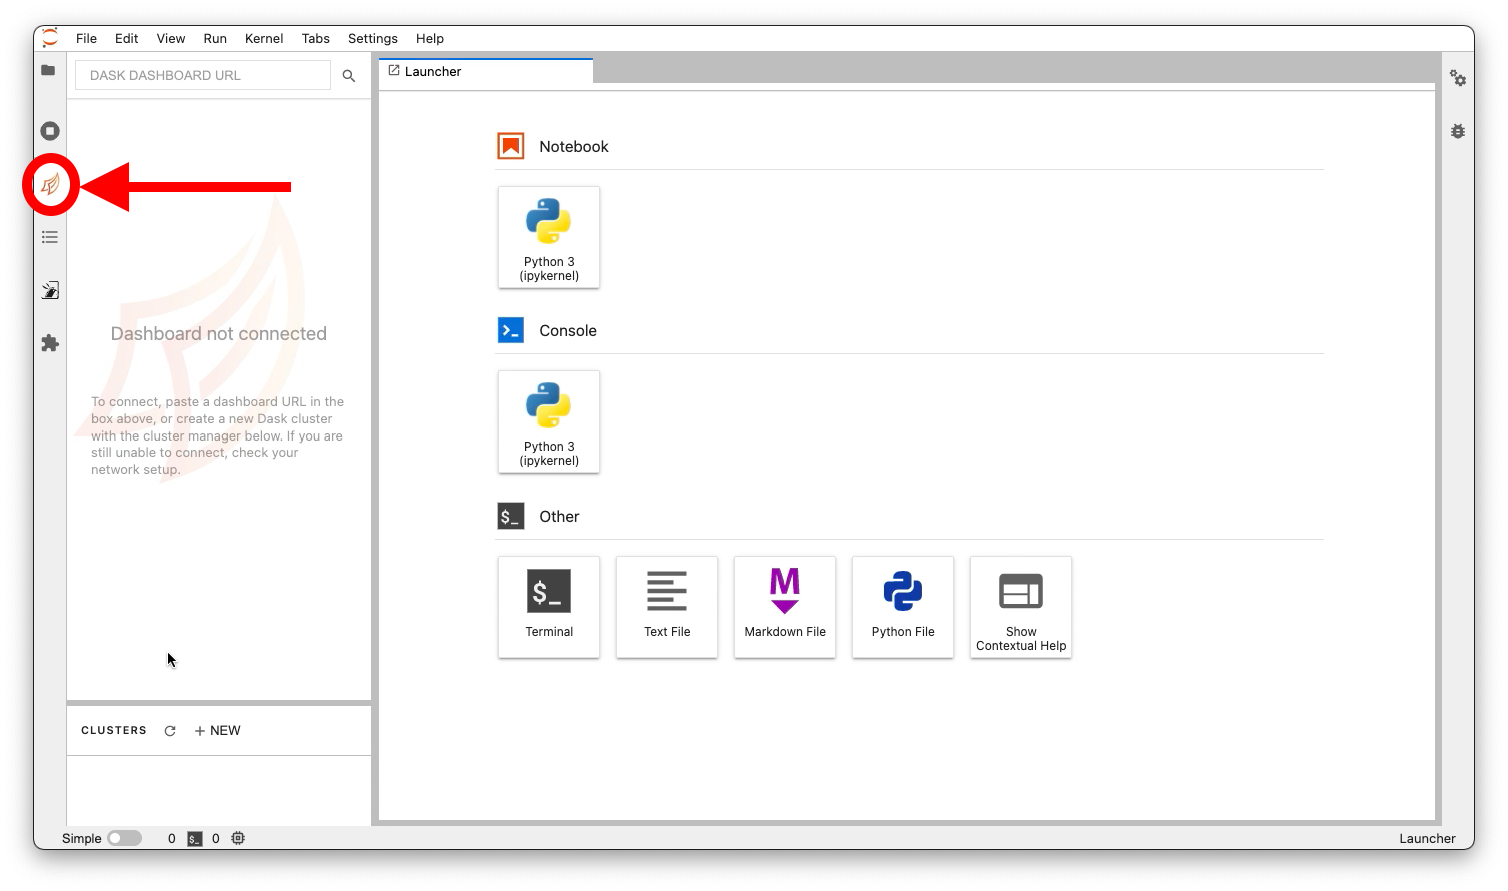
To create a Dask cluster from Jupyter Lab you have to use the Dask Lab Extension. You can find it on the left sidebar as shown in the figure:
Then, you can click on the NEW button of the Dask Lab Extension:

You must select a proper factory name and worker node image from the available list and, once selected,
you can press the Create button:

After a couple of minutes, you will see the created cluster in the cluster list, indicated in the image by the red square. If you select that cluster, you will see also a list of available fields to monitor and inspect the cluster, the blue square in the image. The Dask Lab Extension will select automatically for you the first cluster created, as a consequence, you should see also all the fields available in the dashboard (blue square).

Info
in the Status field, you will see the actual state of the
cluster creation. The cluster will be ready when the state is Running.
In that situation, there will be a valid Scheduler address and Dashboard URL:
e.g. localhost:12345. During the creation, you could see Status like Job is idle
or Waiting for connection. In case of error, the Status will show the
reason for the issue.
Attention
it is not necessary to click on Dashboard URL, because the link
is not directly available outside the Dask Lab Extension. To select a cluster,
you just have to move the cursor in the item and click when the cursor become a
hand.
Connect to the cluster
Now, you can connect to the cluster using a Dask Client. Open your notebook,
select the cell where you want to put the client connection code, and click
the Inject Code button (red circle). Then, you will see the code in your cell,
as shown in the following image with the green square:

Tip
you can also write that code copying the proper scheduler address
shown in the cluster Scheduler Address, for example:
from dask.distributed import Client

client = Client("localhost:12345")